
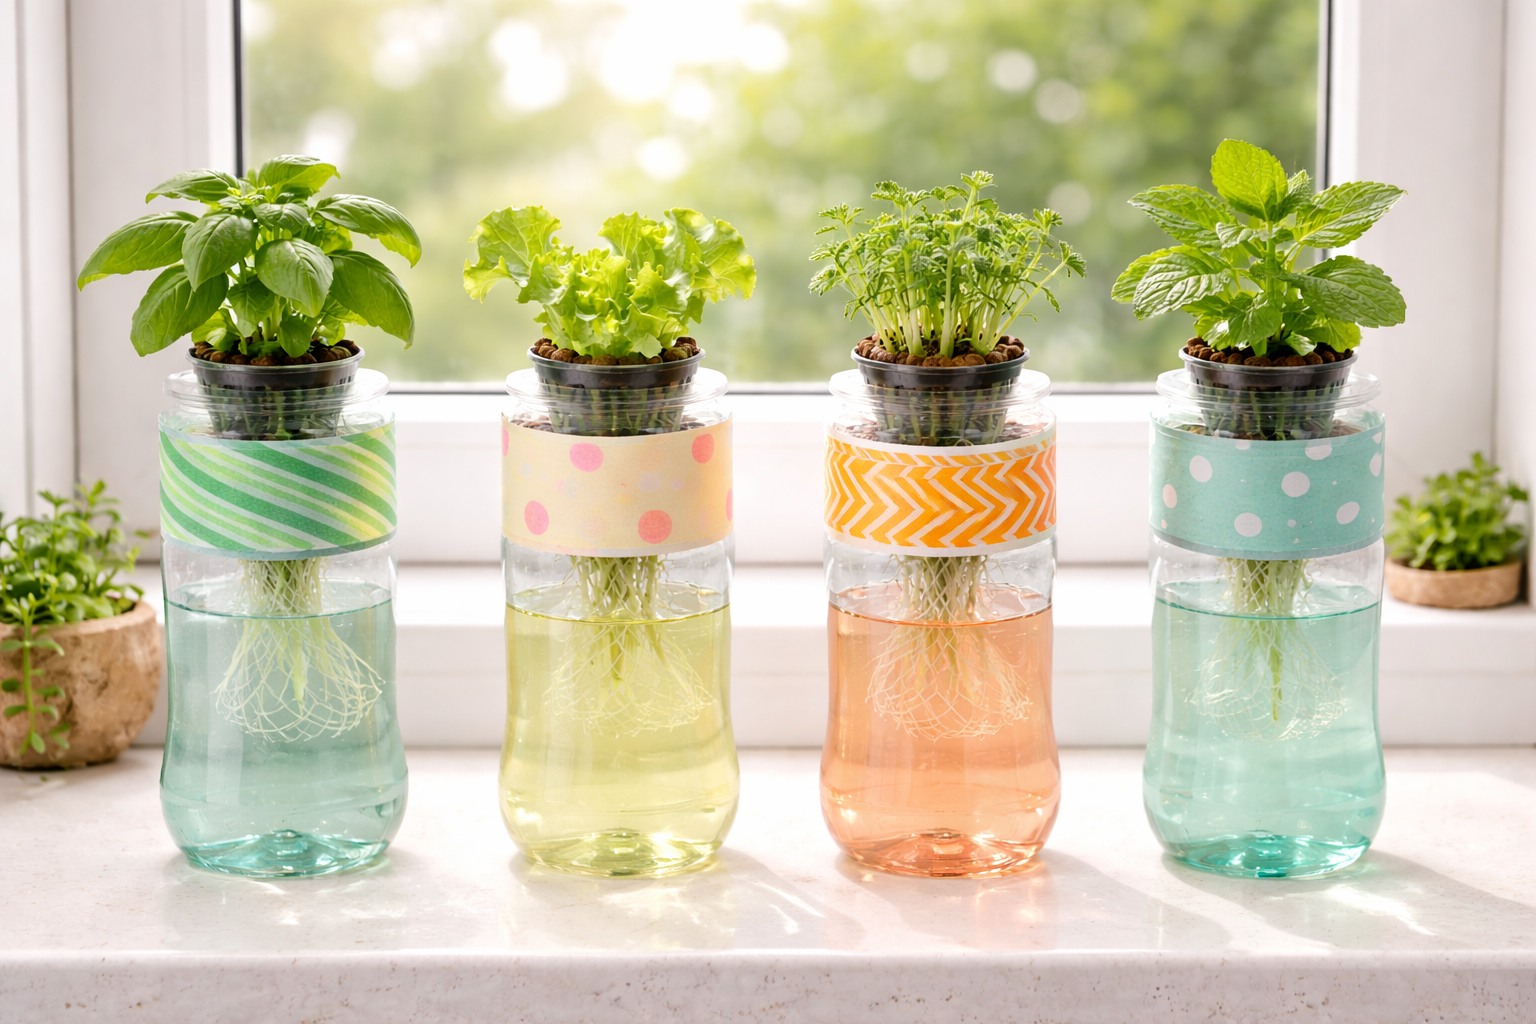
What if your next hydroponic garden cost you absolutely nothing? Not £30, not £15, but zero pounds. Plastic bottle hydroponics DIY is a real, functional growing method that produces genuine food using materials you already have at home.
A 2-litre plastic bottle can be transformed into a working Kratky hydroponic planter in about 10 minutes. No special tools, no purchases, no electricity. Just a bottle, water, nutrients, and a seed. The system is passive, silent, and surprisingly effective for fast-growing herbs and greens.
This guide shows you exactly how to build it, what to grow, common mistakes to avoid, and how to scale from one bottle to a full windowsill garden that produces fresh food every week.
♻️ The Quick Overview
Turn a recycled 2-litre bottle into a working hydroponic planter in 10 minutes. Total cost if you already have nutrients: £0. Perfect for beginners testing whether hydroponics is for them, or for classroom STEM projects.
Why plastic bottles make excellent hydroponic containers
A plastic bottle is structurally ideal for hydroponics. When cut in half and inverted, the top half becomes a funnel that holds the plant and growing medium, while the bottom half becomes a reservoir for the nutrient solution. The narrow bottle neck acts as a natural constriction point where you place a wick to draw water upward to the roots.
This creates a self-contained Kratky system: the plant sits above the nutrient solution, roots grow downward into the water, and as the plant drinks, an air gap forms that provides oxygen to the upper roots. No pump, no timer, no electricity. The system runs entirely on physics and biology. For the complete Kratky principles, see our kratky method hydroponics guide.
Plastic bottles are also free, available everywhere, lightweight, and easy to modify with basic household tools. You are literally turning rubbish into a food production system. It does not get more sustainable than that.
What you need (most of it is free)
| Item | Source | Cost |
|---|---|---|
| 2-litre plastic bottle | Your recycling bin (fizzy drink, water, or squash bottle) | Free |
| Scissors or sharp knife | You already own these | Free |
| Cotton wool, small sponge, or cloth strip (wick) | Your home, or Poundland | Free – £1 |
| Aluminium foil | Tesco, Sainsbury’s, any UK supermarket | £1 |
| Seeds | Suttons, Thompson & Morgan, or any UK garden centre | £1-2 |
| Hydroponic nutrients | Amazon UK (Formulex or similar) | £8-12 |
| Tap water | Your kitchen tap | Pennies |
Total cost if you already have nutrients: £0. Total cost if buying nutrients for the first time: £10-14, which then supports dozens of future grows across multiple bottles.
Step-by-step build instructions
Step 1Cut the bottle
Rinse the bottle thoroughly with warm water. Remove any labels. Cut the bottle approximately one-third from the top using scissors or a sharp knife. You want the top piece (with the cap) to be shorter than the bottom piece (the reservoir). The bottom piece needs to hold enough water to sustain the plant for several weeks.
Cut as straight and level as possible. If the edge is ragged, trim it with scissors. The top piece will sit inside the bottom piece, so a reasonably straight cut makes for a more stable assembly.
Step 2Prepare the cap for drainage and wicking
Remove the bottle cap. Using scissors, a nail, or a small drill bit, poke 4 to 6 small holes through the cap. These holes serve two purposes: they allow roots to grow through as the plant matures, and they let the wick material draw water upward from the reservoir.
Screw the cap back on firmly. Now push a small piece of cotton wool, sponge, or cloth strip through the cap from the inside so it protrudes about 2-3 centimetres below the cap. This wick will hang into the nutrient solution and draw water up to the seedling through capillary action — the same principle that makes a paper towel absorb spilled water.
Step 3Block the light
Wrap the bottom half of the bottle (the reservoir) completely in aluminium foil. Overlap the edges and press firmly so no light can penetrate. Light reaching the nutrient solution causes algae growth, which is a green slime that competes with your plant for nutrients and oxygen. Blocking light completely eliminates this problem.
You can also wrap the top half if you want a uniform appearance, but it is less critical since the growing medium and plant shade the interior.
Step 4Mix and add the nutrient solution
In a separate container, mix your nutrient solution. Use half the concentration recommended on the product label for your first grow. For most liquid nutrients, this means approximately 2.5 to 5 millilitres per litre of water.
If you are using the free alternative (diluted general plant food), use one-quarter of the recommended dilution rate. This is weaker than ideal but sufficient for a first grow of lettuce or herbs. For the complete nutrient mixing process, see our hydroponic nutrients for beginners guide.
Pour the mixed solution into the foil-wrapped bottom piece until it is approximately two-thirds full. Leave space at the top because the inverted top piece will displace some volume when inserted.
Step 5Assemble the system
Turn the top piece upside down (cap and wick facing downward) and place it inside the bottom piece. It should sit like a funnel in a cup, with the wick dangling into the nutrient solution below. If the top piece sits too deep and the wick is submerged too far, remove some solution.
The wick should be touching the nutrient solution. When you touch the cotton wool or sponge at the cap level, it should feel damp, confirming that the wicking action is working.
Step 6Add growing medium and plant
Place a small amount of growing medium into the funnel area above the cap. Cotton wool works well for this purpose. Perlite, vermiculite, or even crumpled tissue paper are all viable alternatives. You need just enough to give the seeds something to sit on and roots something to grip.
Sprinkle 3 to 5 seeds onto the surface of the growing medium. For lettuce, do not cover the seeds — they need light to germinate. For basil, press them gently into the surface. Mist with a spray bottle to moisten the surface.
Step 7Position and wait
Place your plastic bottle hydroponics DIY system on a sunny windowsill. South-facing windows are best in the UK, but east or west-facing windows also work, especially during the longer days of spring and summer.
Mist the seeds daily with a spray bottle until they germinate (3-7 days for most herbs and lettuce). Once the seedlings have established and roots have reached the nutrient solution through the wick, the system becomes self-sustaining. The wick continuously draws water and nutrients upward, and you only need to check the water level once a week.
The 5 best crops for bottle gardens
The 2-litre reservoir limits you to small, fast-growing plants with modest water demands. These crops thrive in the bottle format:
#1Cress — The fastest possible result
Germinates in 2-3 days, ready to eat in 7-10 days. The absolute fastest result possible. Excellent for children who want immediate gratification. One bottle produces enough cress for a week of sandwiches and salads.
#2Lettuce (leaf varieties)
Ready in 30-45 days. The bottle provides enough water for the entire growth cycle of a single lettuce plant. Harvest outer leaves for extended production. See our hydroponic lettuce guide for variety recommendations.
#3Basil
Ready in 21-28 days. One bottle of basil produces weeks of fresh leaves. Pinch the growing tips to encourage bushy growth rather than tall, leggy stems. See our hydroponic herbs guide for the full basil approach.
#4Coriander
Ready in 21-30 days. Fast but prone to bolting in warm conditions. Keep the bottle away from heat sources and direct afternoon sun. For the best bolt-resistant approach, grow during UK cooler months (April-June, September-October).
#5Mint
Ready in 30-40 days. Grows aggressively and may need trimming. Excellent for tea and cooking. One bottle of mint can last months with regular harvesting. Try starting from a supermarket cutting (Tesco or Sainsbury’s fresh mint) to skip seeds entirely.
⚠️ What to Avoid
Avoid anything large or fruiting. Tomatoes, peppers, and cucumbers need far more water and nutrients than a 2-litre bottle can sustain. Save those for bucket-based systems — see our £30 hydroponic system guide.
Troubleshooting common bottle garden problems
| Problem | Likely Cause | Fix |
|---|---|---|
| Seeds not germinating | Growing medium too dry OR location too cold (below 15°C) | Mist more frequently; move to warmer spot. Don’t bury lettuce seeds — they need light |
| Seedling wilting despite water | Wick not making proper contact with solution | Check cotton wool extends into water; re-wet wick if dried out |
| Green slime in reservoir | Light reaching the nutrient solution | Check foil wrapping for gaps; cover any exposed areas |
| Plant growing very slowly | Insufficient light OR weak nutrients | Move to sunnier window or add grow light; upgrade from diluted plant food to proper hydroponic nutrients |
| Roots turning brown/slimy | Root rot from stagnant water | See our root rot rescue guide |
| Leaves turning yellow | pH imbalance or nutrient deficiency | See our plants turning yellow guide |
Scaling to a bottle garden: 6 bottles on a windowsill
One bottle proves the concept. Six bottles makes a garden. Line them along your windowsill, each growing a different herb or green. Stagger the planting dates so you start a new bottle every week, and from week 4 onwards you will have continuous harvests with plants at every stage of growth.
🪟 Suggested 6-Bottle Rotation
- Bottle 1: Cress (re-sow every 10 days — constant salad topper)
- Bottle 2: Lettuce (staggered 2 weeks behind bottle 1)
- Bottle 3: Basil (continuous harvest for 2-3 months)
- Bottle 4: Mint (practically unkillable perennial)
- Bottle 5: Coriander (re-sow every 6 weeks)
- Bottle 6: Parsley (slow-start, long-lived)
Total cost after initial nutrient purchase: essentially zero. The bottles are free and seeds cost pennies per plant.
For a more polished look, paint the bottles with acrylic paint instead of using foil. Label each bottle with the plant name and sowing date using a permanent marker. This transforms a row of recycled bottles into an intentional, attractive kitchen feature.
Upgrading from bottles
The plastic bottle hydroponics DIY approach is a perfect starting point, but once you have proven to yourself that hydroponics works, two natural upgrades await:
| Next Step | Cost | What You Gain |
|---|---|---|
| Kratky mason jars | £3-5 per jar | Larger reservoir, more stable, reusable for years |
| Pound shop storage tub | £5-6 | 6-plant capacity from one shared reservoir |
| DWC bucket (£30 build) | £25-40 total | Much faster growth, supports larger plants including cherry tomatoes |
The beauty of starting with bottles is that you learn all the fundamentals — nutrients, pH, light, observation — with zero financial risk. If your first bottle fails (and learning from failure is part of the process), you have lost nothing but a few minutes of time and a recycled bottle.
Bottle gardens as STEM education
Plastic bottle hydroponics is one of the best science activities for children and classrooms. It teaches biology (plant growth, photosynthesis, root development), chemistry (nutrients, pH, solutions), engineering (building a functional system from waste materials), and environmental science (recycling, sustainability, food systems).
The best part is the payoff: children get to eat what they grow. There is no more powerful motivator than turning a piece of rubbish into a sandwich ingredient. For classroom use, have each student build their own bottle garden and track growth over 4 weeks with measurements and drawings. See our hydroponic experiments for kids guide for specific project ideas.
Frequently asked questions about plastic bottle hydroponics
Are plastic bottles safe for growing food hydroponically?
Yes — PET plastic (used in most drink bottles) is food-safe and does not leach harmful chemicals under normal conditions. The bottle has already held a beverage you drank, so it’s been tested for food safety. Avoid bottles that previously held cleaning products or non-food items, and don’t expose your bottle garden to extreme heat (above 60°C).
Can I reuse my bottle after the first grow cycle?
Yes. After harvesting, remove the plant and old roots, rinse the bottle with warm water, and start fresh with a new seedling. One bottle can support dozens of grow cycles over 2-3 years before it starts degrading or discolouring.
Do I need to change the water during the grow cycle?
No — this is the beauty of the Kratky method. Mix your nutrient solution once at setup and the plant uses it all. Never top up or refill during the grow cycle. Only start fresh when beginning a new plant. This is one of the most important rules.
How long before the bottle gets dirty or cloudy?
If wrapped correctly with aluminium foil, the inside stays remarkably clean because no light can get in. The bottle typically looks new after each grow cycle. Any cloudiness usually indicates light has penetrated the foil and algae has started — re-wrap and continue.
Can children build this safely?
Yes, with adult supervision for the cutting step. Children aged 7+ can handle all other aspects themselves. This is genuinely one of the best STEM projects for young children because they see immediate results. See our teaching kids hydroponics guide for age-appropriate approaches.
What happens if I cut the bottle in the wrong place?
If you cut too low (making the reservoir too small), the plant will run out of water before maturity. Start fresh with a new bottle. If you cut too high (making the funnel too small), the growing medium won’t have enough space — either start fresh or use less growing medium. Measuring before cutting avoids both problems.
Do bottle gardens work in winter without a grow light?
From November to February in the UK, natural windowsill light alone is insufficient for most crops. A £10-15 clip-on LED grow light solves this. Cress is the exception — its fast growth cycle means even low winter light can produce results in 10-14 days.
Can I grow strawberries in a plastic bottle?
Not well. Strawberries need larger root systems and more water volume than a 2-litre bottle provides. If you want to try fruiting crops, graduate to a mason jar setup first, then to a DWC bucket. See our hydroponic strawberries guide for the proper setup.
Related posts you might find useful
- How to Start Hydroponics with Mason Jars — Next step up from bottles
- 5 Pound Shop Hydroponic Systems — Other budget alternatives
- The £30 Hydroponic System That Actually Works — Natural upgrade path
- Hydroponic Cost Breakdown — Full cost analysis across tiers
- Kratky Method Hydroponics — The science your bottle uses
- Hydroponic Experiments for Kids — STEM projects using bottles
- 10 Easy Hydroponic Plants — Best beginner crops for any system
Build Your First System on a Budget
Our 22-page ebook Build Your First Hydroponic System on a Budget includes step-by-step guides for mason jar, DWC bucket, storage tub, and vertical systems — all under £50, with photos, UK shopping lists, and troubleshooting.
✓ 5 detailed builds with photos · ✓ UK shopping lists · ✓ Cost-saving strategies · ✓ Instant PDF download